Development boards have undergone a massive evolution recently and some of them can now be used as a small personal computer. This is also the case with Raspberry Pi boards, which now offer many more possibilities to the developer than before. They are perfectly serviceable desktops for web browsing, writing articles and much more. With these improvements, the range of projects that can be done with them has increased.
Therefore, an easy project to start with is to create a weather widget using Python, with support from the Tomorrow.io weather API. GUIs in Python are very light-weight and easy to build so they are perfect for a small computer such as Raspberry Pi.
Here’s a step-by-step guide on how to build it:
Part I – Weather Data Acquisition and Integration
Once you’ve grabbed your API key from the Tomorrow.io weather API, it’s time to get coding and get the weather data we want – temperature and humidity measured each minute in metric values – with the help of Python. Start by placing the following code in a new .py file (weather_widget.py)
import requests
import threading, time
from string import Template
These are the packages we will need in this project for the weather data acquisition part. We’ll use them to send a request every 80 seconds. The first step here is to create a function that will make this request and receive the current weather data.
def get_weather_data(lat,lon,apiKey):
URL = Template('https://data.tomorrow.io/v4/timelines?location=$lat,$lon&apikey=$apiKey&fields=temperature&fields=humidity×teps=1m')
r = requests.get(url = URL.substitute(lat=lat,lon=lon,apiKey=apiKey))
data = r.json()
return data['data']['timelines'][0]['intervals'][0]
If we call this function and we enter the latitude, longitude and our API key,
print(get_weather_data(45.6427,25.5887,’your_api_key’))
then we should see the following output
{‘startTime’: ‘2021-03-06T08:31:00Z’, ‘values’: {‘temperature’: -1.66, ‘humidity’: 84.62}}
Getting the weather data is what we need, but we also need to get this data at regular intervals so that we can update the widget. Therefore, we need to run this function continuously.
To do so, we need to update our code with the following snippet:
def update_every_n_seconds(n=80):
    while True:
        weather_data = get_weather_data(45.6427,25.5887,'your_api_key')

        time.sleep(n)

thread = threading.Thread(target=update_every_n_seconds, daemon=True)
thread.start()
Here, you can pass your own data through the function get_weather_data.
Part III – The Widget
To create a widget we will use the guizero module. To install it you can use the pip command: pip install guizero. Once installed, update the imports at the top with the following code:
app =App(title="Weather Widget", width=400, height=100)
temperature_msg = Text(app, text="")
humidity_msg = Text(app, text="")
These lines will create a new widget application with the title Weather Widget and will declare 2 text placeholders in which we will show the temperature and the humidity.
Lastly, to show this widget at the very end of our file, call the display() method.
app.display()
If we run our program now from the terminal using the command: python weather_widget.py
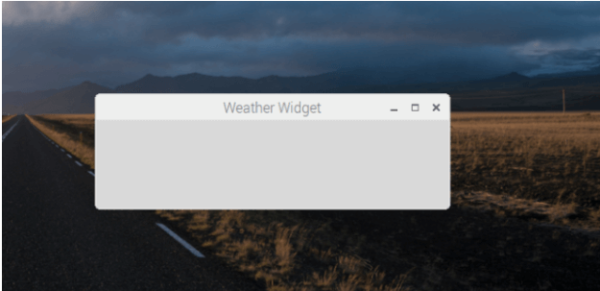
we should see something like this:

You can see that we only have the title, the content is blank. That’s because the variables declared above are an empty string at first. Within the update_every_n_seconds function, we need to update their values to reflect the current weather values.
For this we need to update the update_every_n_seconds function with
 def update_every_n_seconds(n=80):
    while True:
        weather_data = get_weather_data(45.6427,25.5887,'your_api_key')

        temperature_msg.value = "Temperature: " + str(weather_data['values']['temperature']) + '°C'
        humidity_msg.value = 'Humidity: ' + str(weather_data['values']['humidity']) + '%'

        time.sleep(n)
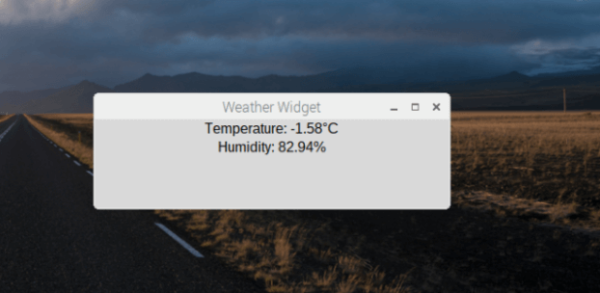
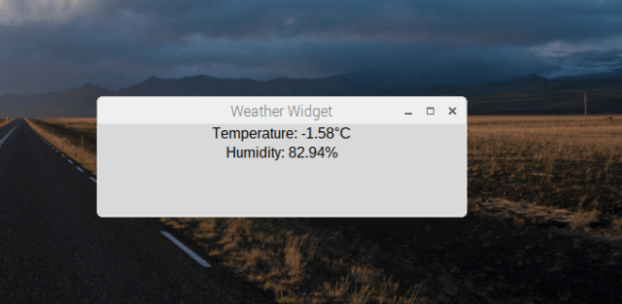
If we run our program again now, we should be able to see the temperature and humidity.

Getting started with Raspberry Pi and GUIs is a piece of cake. From now on, you can customize your widget as you want and you can also include pictures and make use of the fact that the Tomorrow.io can return a weather code, which can be used to decide what image to display based on the current conditions.


